STEP 1: Connect to your service using RDP client or VNC console. Login as an Administrator.
STEP 2: Go to start menu and click on search button.
STEP 3: Enter: “Computer Management” and click it.
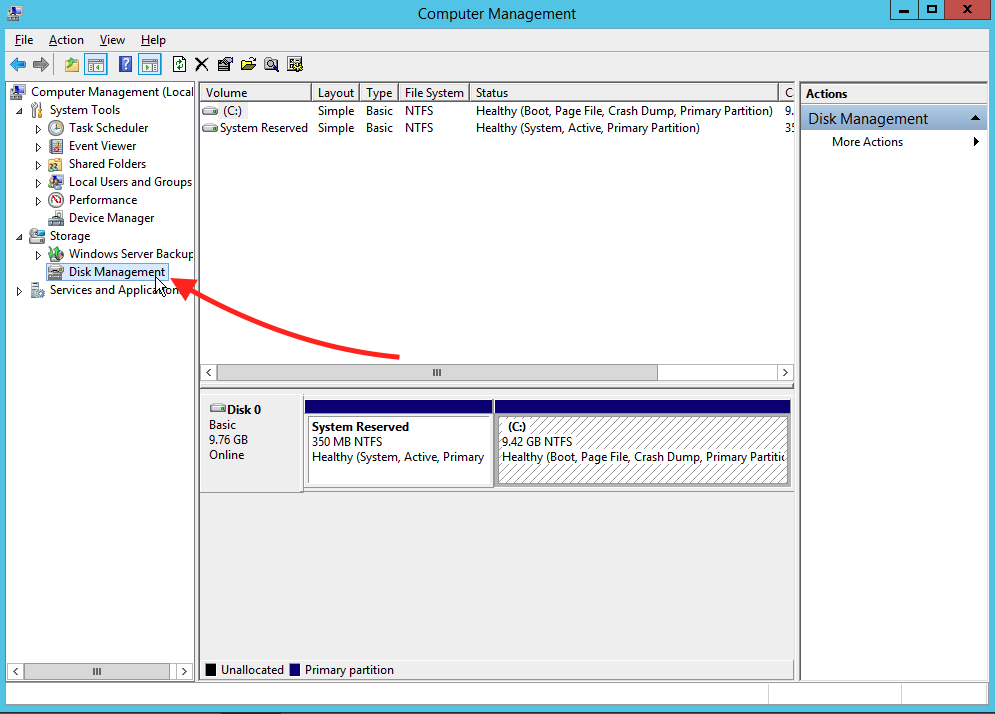
STEP 4: Click on “Disk Management“.
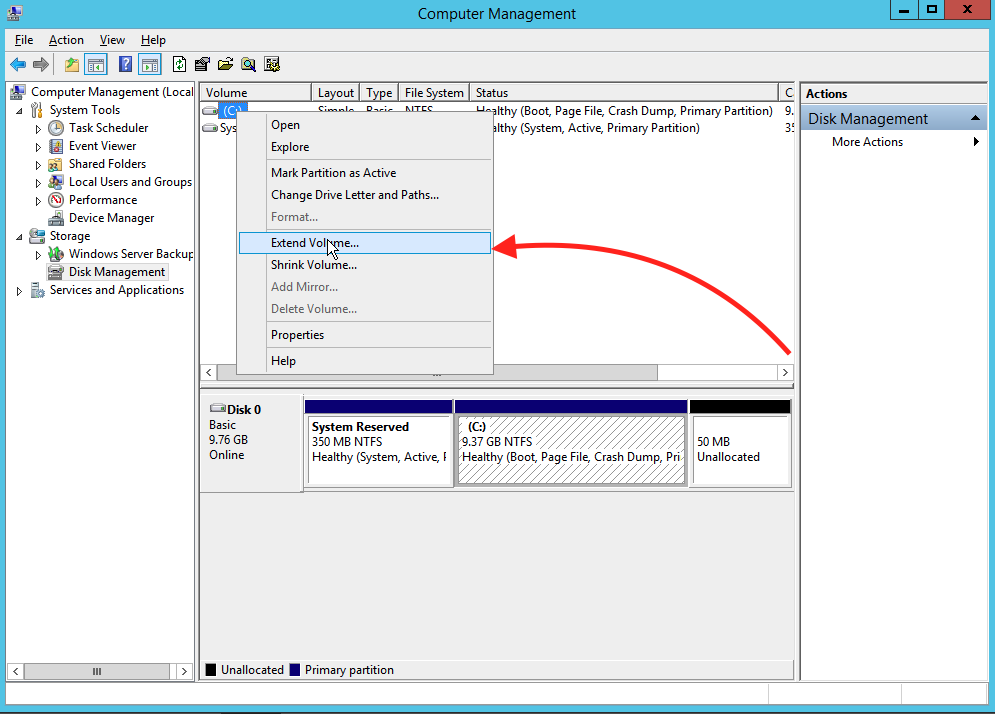
STEP 5: Click “Extend Volume…“.
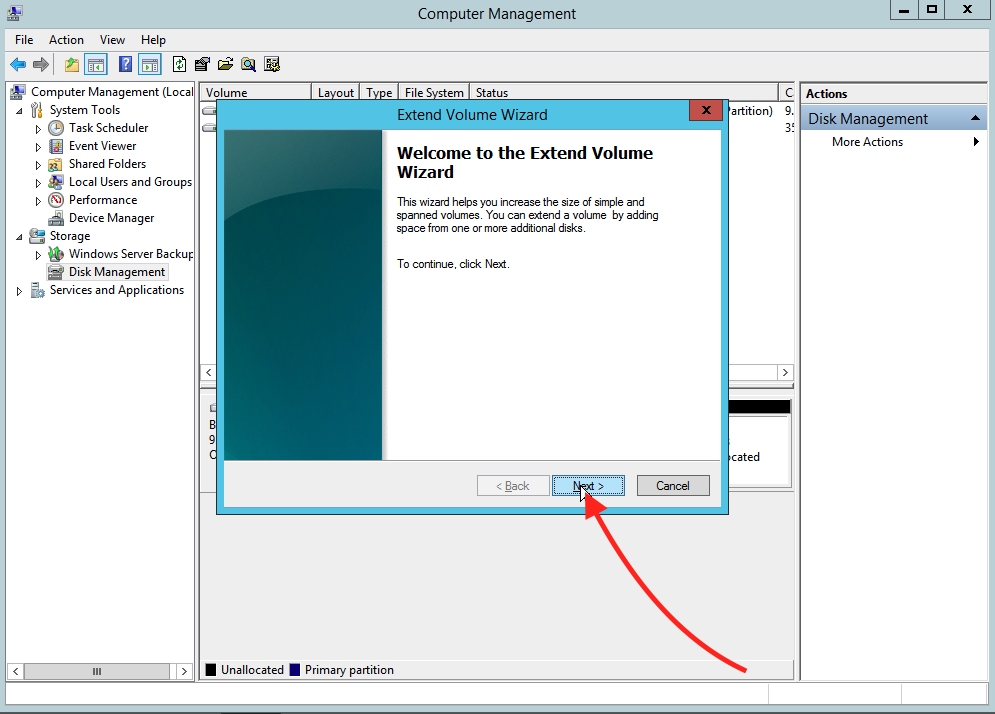
STEP 6: Click “Next“.
STEP 7: Type amount of MB that you need and click “Next“.

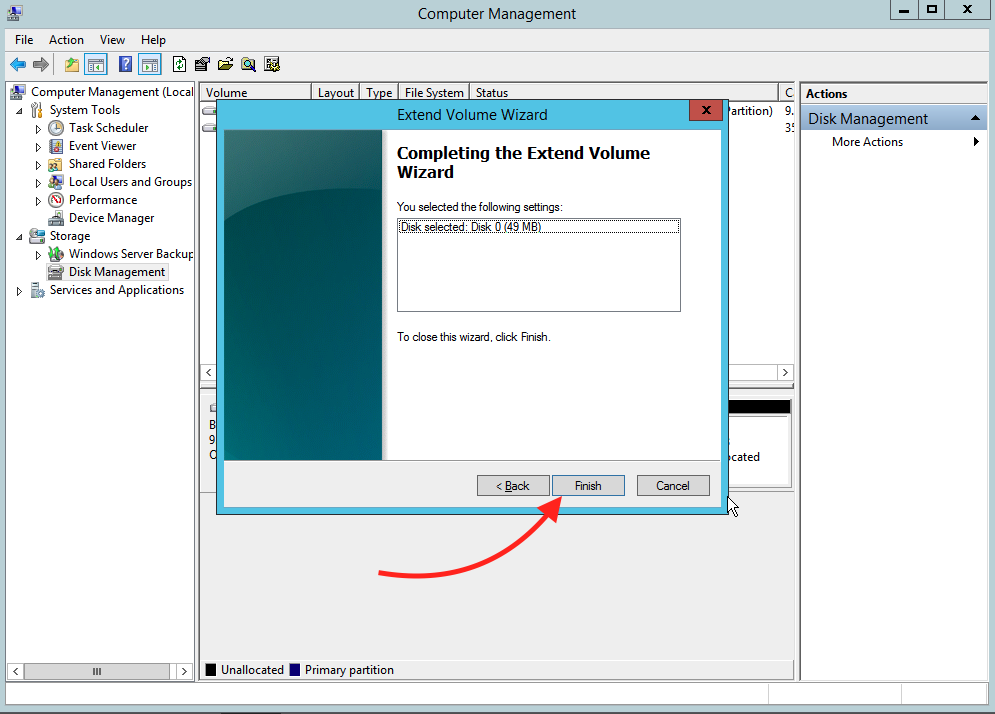
STEP 8: Click “Finish“.