STEP 1: Firstly, you need to get into IPMI.
STEP 2: Click on the screen image on the main page.

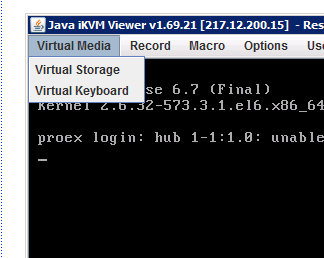
STEP 3: The Java applet will launch as a separate window. In the “Virtual Media” menu, select the “Virtual Storage” item.
NOTE: You need to have Java installed on your computer.
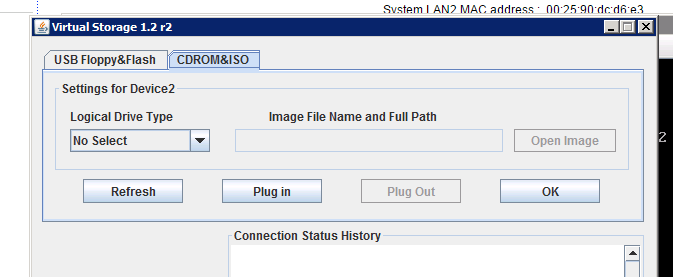
STEP 4: Go to the “CDROM&ISO” tab.
STEP 5: In the drop-down list “Logical Drive Type” select “ISO File”.
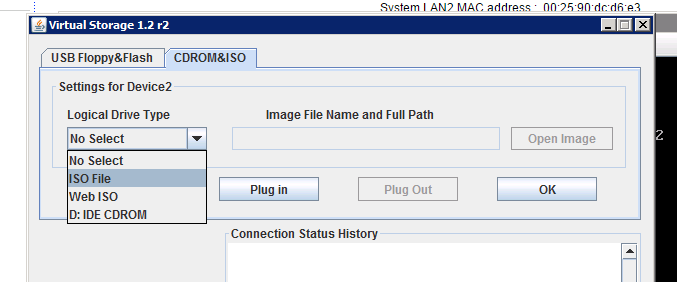
STEP 6: Now click on the “Open Image” button, and select the disk image you want to mount.
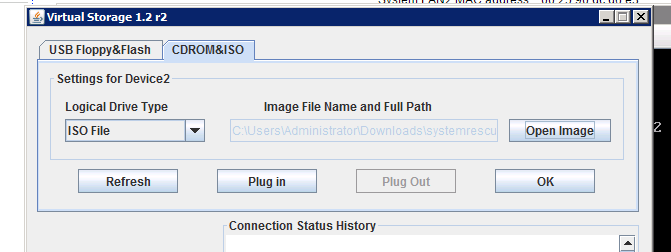
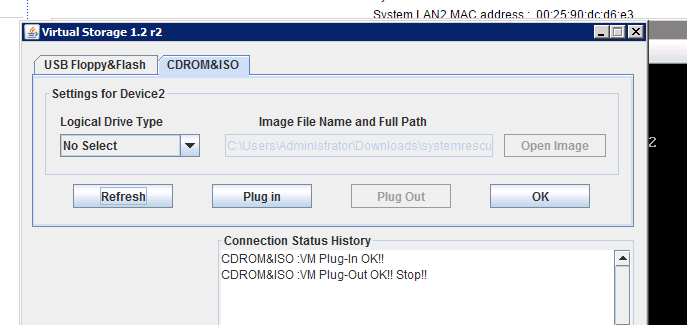
STEP 7: Now press the “Plug in” button to mount the selected image.
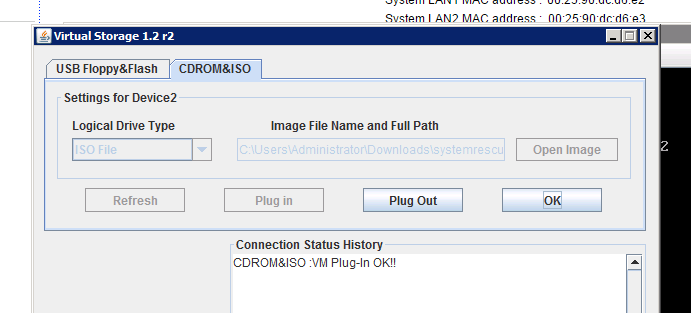
STEP 8: To unmount the image, you will need to click on the “Plug Out”.