VMmanager 5 #
STEP 1: Go to VMmanager. (here is how to do it)
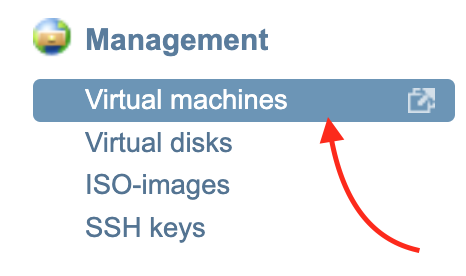
STEP 2: Click on “Virtual machines” in “Management“.
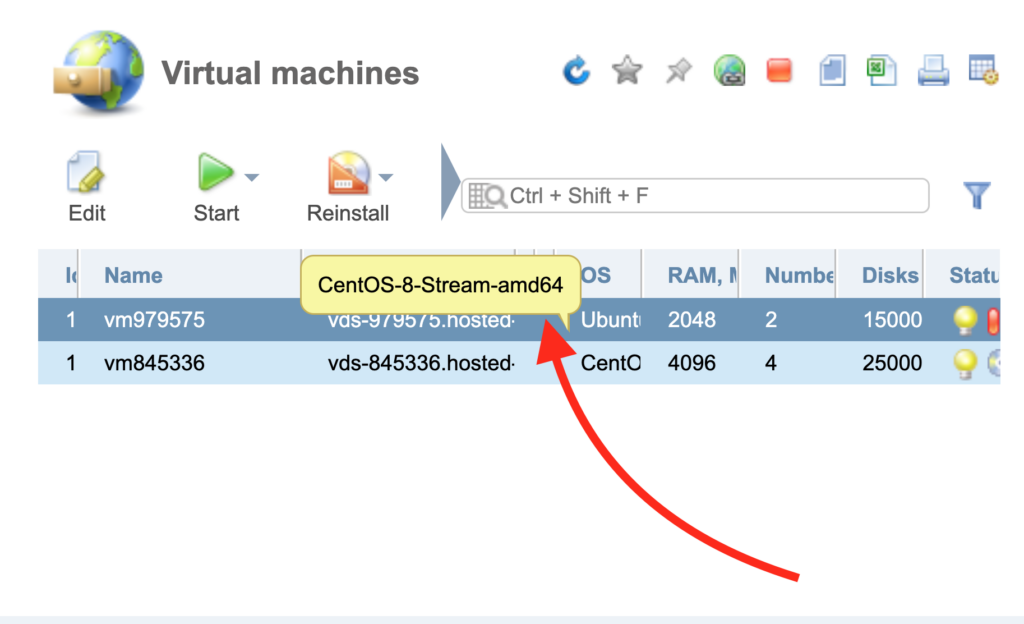
STEP 3: Select the service on which you will change or reinstall the OS.
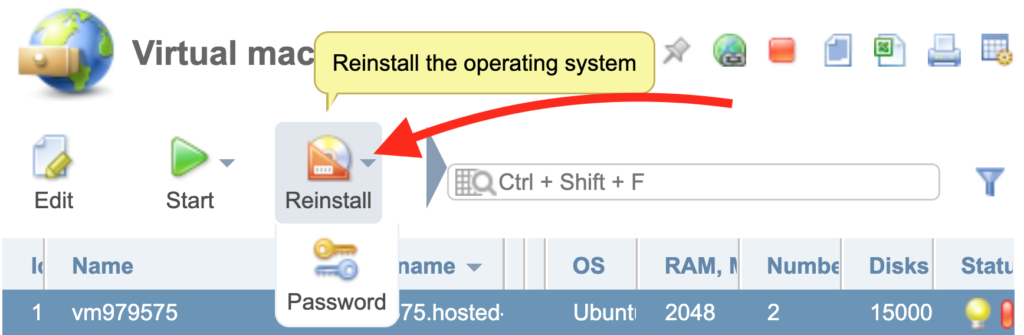
STEP 4: Click on the “Reinstall” button.
STEP 5: Click on “OS template“.
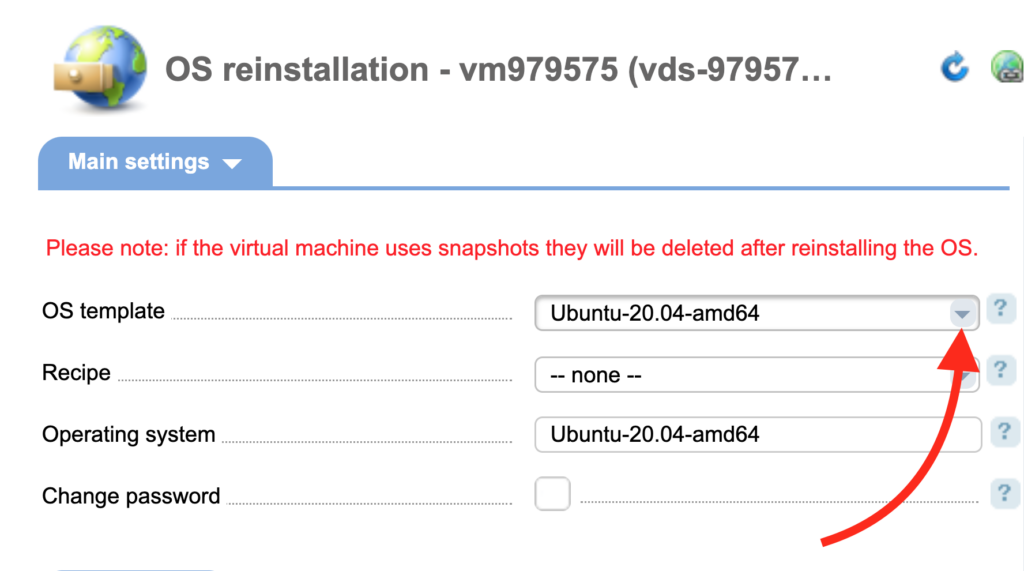
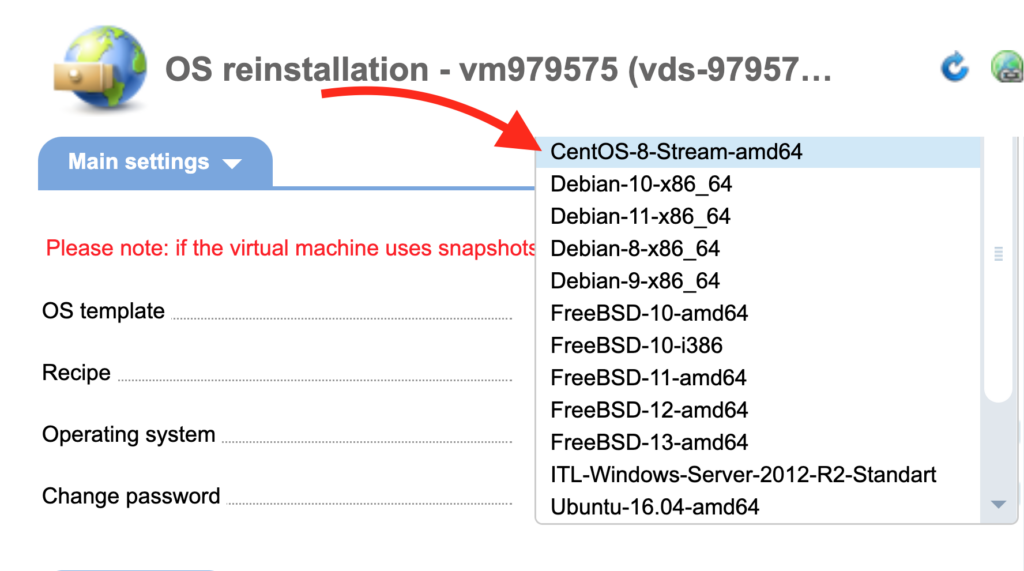
STEP 6: Select an OS.
You can also change your password if you need to. If you don’t, you can easily find your password in the service activation email.
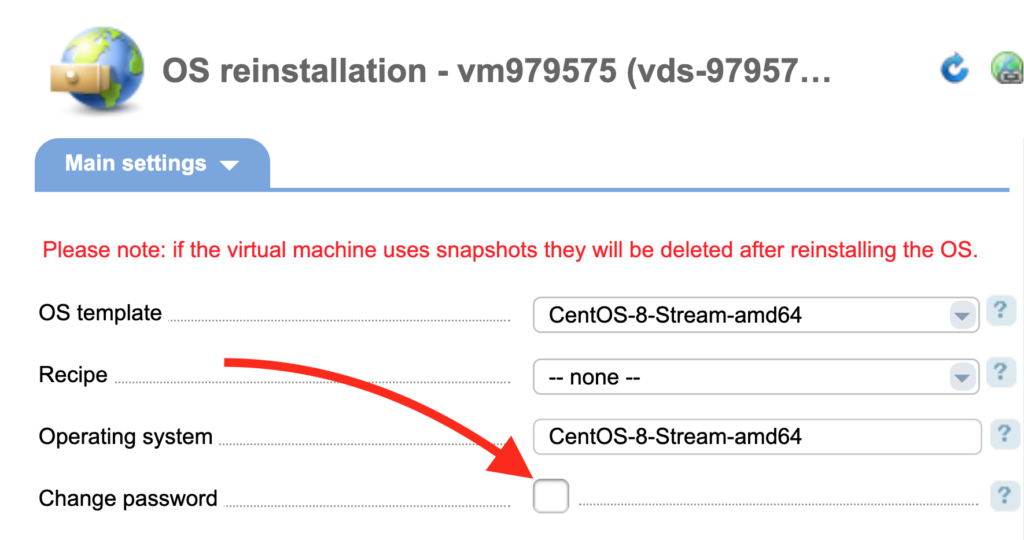
STEP 7: Click “Ok” button if you are ready to apply all changes.

After a few minutes, OS will be installed. The installation time will be different for different operating systems.
VMmanager 6 #
STEP 1: Go to VMmanager. (here is how to do it)
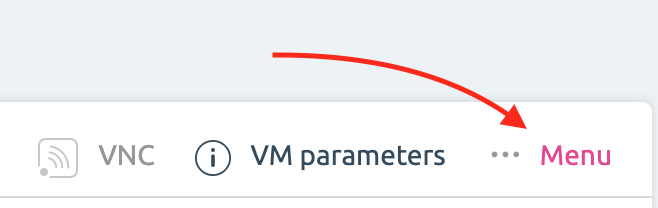
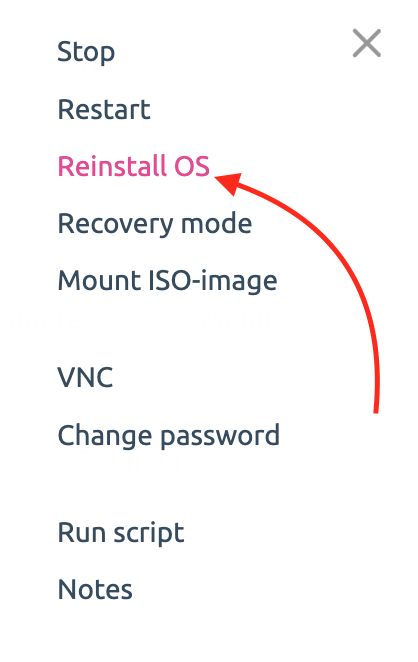
STEP 2: Click on “Menu” button.
STEP 3: Click on “Reinstall OS” button.
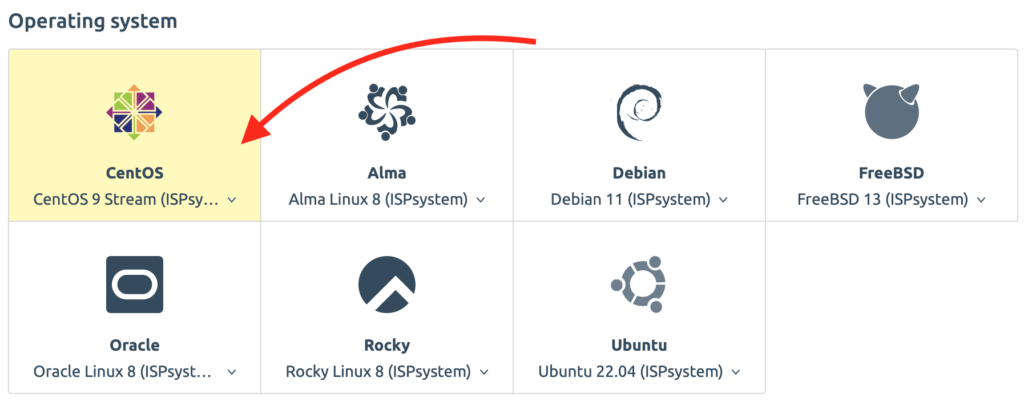
STEP 4: Select an OS that you want to install or reinstall.
You can also change your password if you need.
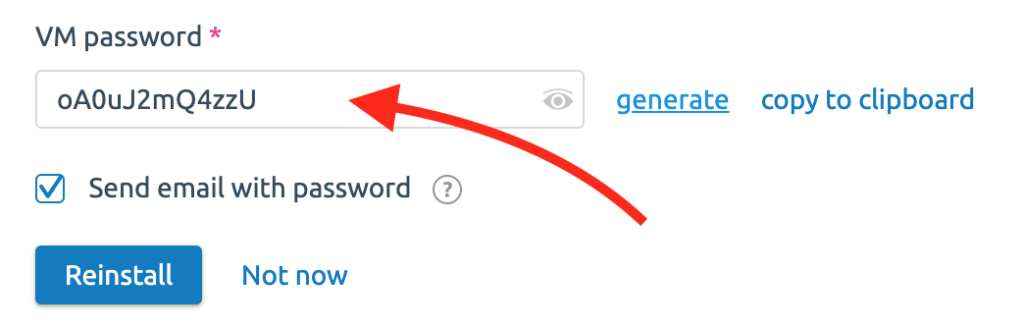
STEP 5: Click on “Reinstall” button.

After a few minutes, OS will be installed. The installation time will be different for different operating systems.
DCImanager 6 #
STEP 1: Go to DCIManager 6
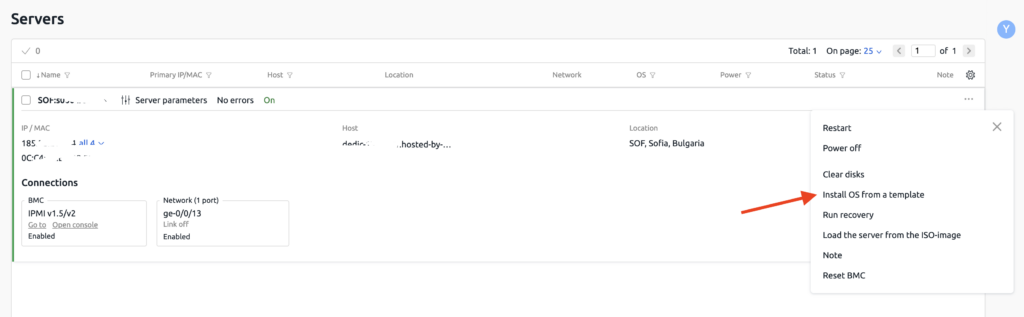
STEP 2: Select your server and click on ••• and then “Install OS from a template“.
STEP 3: Select your OS and script if needed. In “Server boot mode” we recommend you to use “Set by template“.

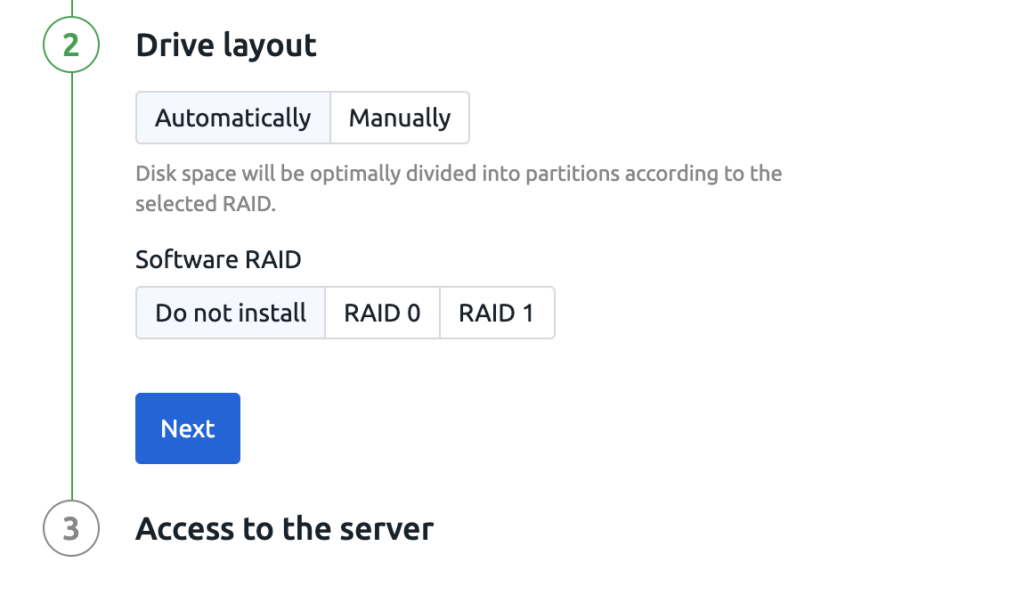
STEP 4: In Drive layout select “Automatically” or “Manually” according to your needs and you can also select Software RAID.
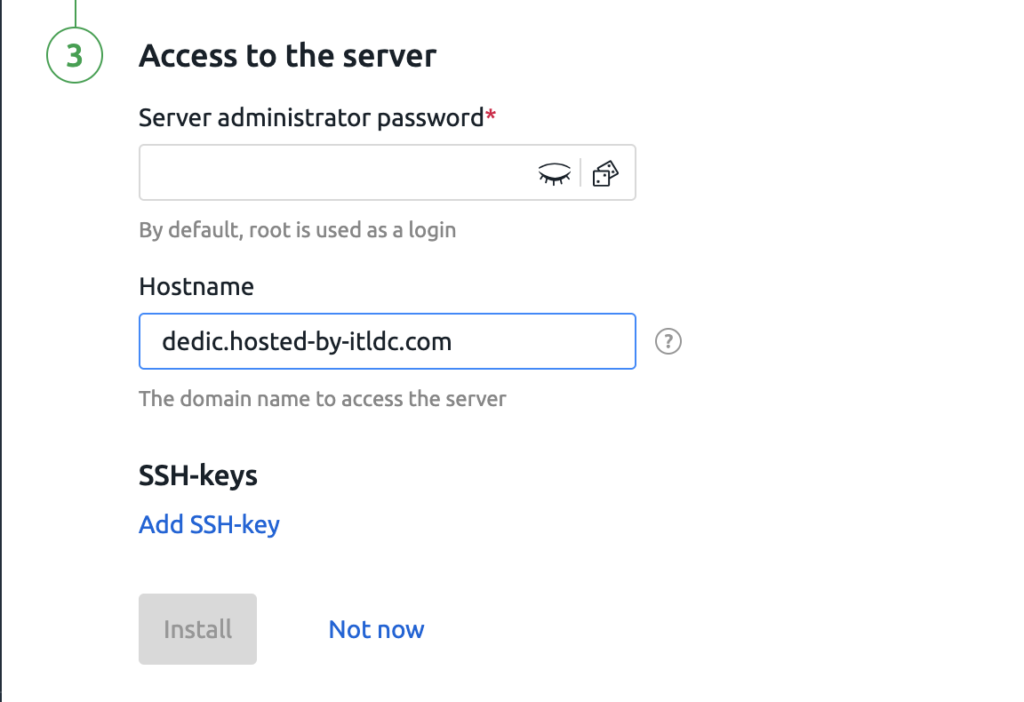
STEP 5: And then setup the password, hostname and SSH-Key if needed. You can generate password, but please save it in your password manager, so you can access this server later.