STEP 1: Firstly, you need to go to my.itldc.com.
STEP 2: Select a service.
STEP 3: Click on “IP-addresses“.

STEP 4: Click the “Order” button.

STEP 5: Select IPv4 or IPv6.
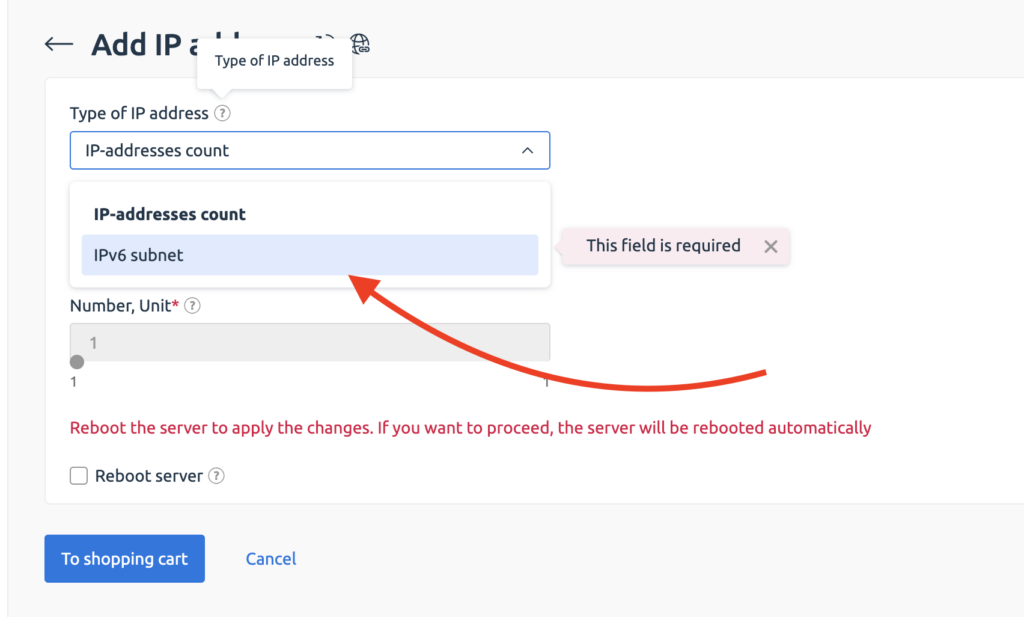
STEP 6: Set the number of IP-addresses that you want to order and click on “Reboot server” checkbox to apply changes.
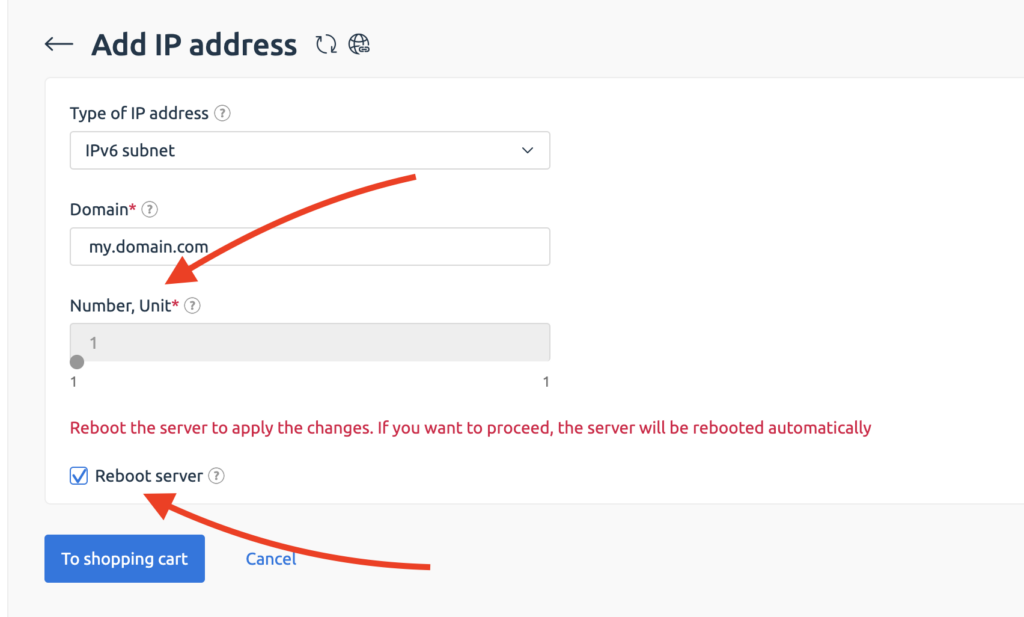
STEP 7: Click the “To shopping cart” button.

STEP 8: To pay, click the “Pay” button and follow the steps on the payment page.

STEP 9: You need to configure your network setting in your OS to use new addresses.
NOTE: To set up by your own, you can read these tutorials:


